


I’m a little bit pumped about this post because we are talking all about Youtube Thumbnails, more specifically I’m going to take you through my process of creating thumbnails.
I’ll share with you some tips and tricks that I use to first decide what my YouTube Thumbnail is going to be, how I shoot, edit & add all my graphics, INCLUDING how I add text behind my image in Canva.
Why You Should Be Using A Custom Thumbnail
Thumbnails are the equivalent of a billboard for your video. You want to make it eye-catching so that it stands out within the YouTube search but you also want it to accurately represent the content of your video.
According To YouTube Creator Academy, 90% of the best-performing videos on YouTube have custom thumbnails.
YCA mentions that the key elements of an effective thumbnail are:
- Close Ups – If your thumbnail includes a photo of you, you want to almost fill the frame
- In Focus & High Resolution – Quality matters!
- Accurately represents the content of your video – No clickbait thumbnails!
- Looks good either large or small – Remember that people are viewing YouTube on all different devices
I’m going to share with you a great website I use to ensure my thumbnail works on all platforms a little later in this tutorial.
A YouTube thumbnail is the equivalent of a movie poster for your video. So keep in mind that most people will look at your thumbnail and make a decision on whether they will watch it before they even read your title, so put in the effort!
How To Add A Custom YouTube Thumbnail To Your Videos
Before we dive into my process of creating a thumbnail, let’s just quickly cover how to add a custom thumbnail to your videos within YouTube Videos because this isn’t a standard feature when you first create your channel.
To be able to access the custom thumbnail feature you need to set up phone verification for your channel.
This is going to give you access to some additional features such as live streaming, uploading videos over 15 minutes and the ability to add custom thumbnails
To unlock these features, access your YouTube channel and enter the YouTube Studio. You then need to open the settings from the bottom left corner.
Click the Channel Tab on the left, then the Feature Eligibility tab along the top. You will then see the phone verification option, follow the steps to set this up.
Once completed, you’ll then be able to access the custom thumbnail option within the video editor.
To find this, go back to your channel & upload a video, or if you already have a video on your channel that you want to update with a custom thumbnail, click edit.
Once your video has loaded and you’ve entered the video editing screen, scroll to the Thumbnail section under the description box & you’ll now have the option to upload a custom thumbnail.
My Process For Creating A YouTube Thumbnail
Step 1: Research
You absolutely want to think about your thumbnail before you start filming unless you’re doing vlogs or something within that realm.
I will include thumbnails as part of my initial research for each video I’m creating. I’ll do this in a few different ways.
Once I’ve decided on a title for my video, I’ll type it into YouTube search and see what kind of thumbnails other creators are using within that topic.
I look for recurring themes within the thumbnails, like whether they’re using certain facial expressions, what graphics have they included, are they using props within their thumbnails such as a computer or laptop.
You never want to copy someone else’s thumbnail exactly but you want to ensure your thumbnail fits within that topic theme, but find a way to add a twist that helps yours stand out from the rest.
Another thing I like to do, especially when I’m struggling to think of a good thumbnail, is I have 3 to 4 different YouTubers whose thumbnail style I really like.
I will go to their channels and look at all their thumbnails to see if I can use any as inspiration, or if anything sparks an idea.
I will then screenshot at least 3 inspiration thumbnails & add them to my video research page.
Step 2: Taking The Photo
Whether you take your thumbnail images before you film or after is a personal preference. I have started taking mine before because I quite often tend to forget to actually take them once I’m done filming.
If this happens, I’ll usually just take a screen capture from my video footage. Although I find this a tad annoying and time-consuming, so taking them before I start shooting helps prevent me from having to use this method.
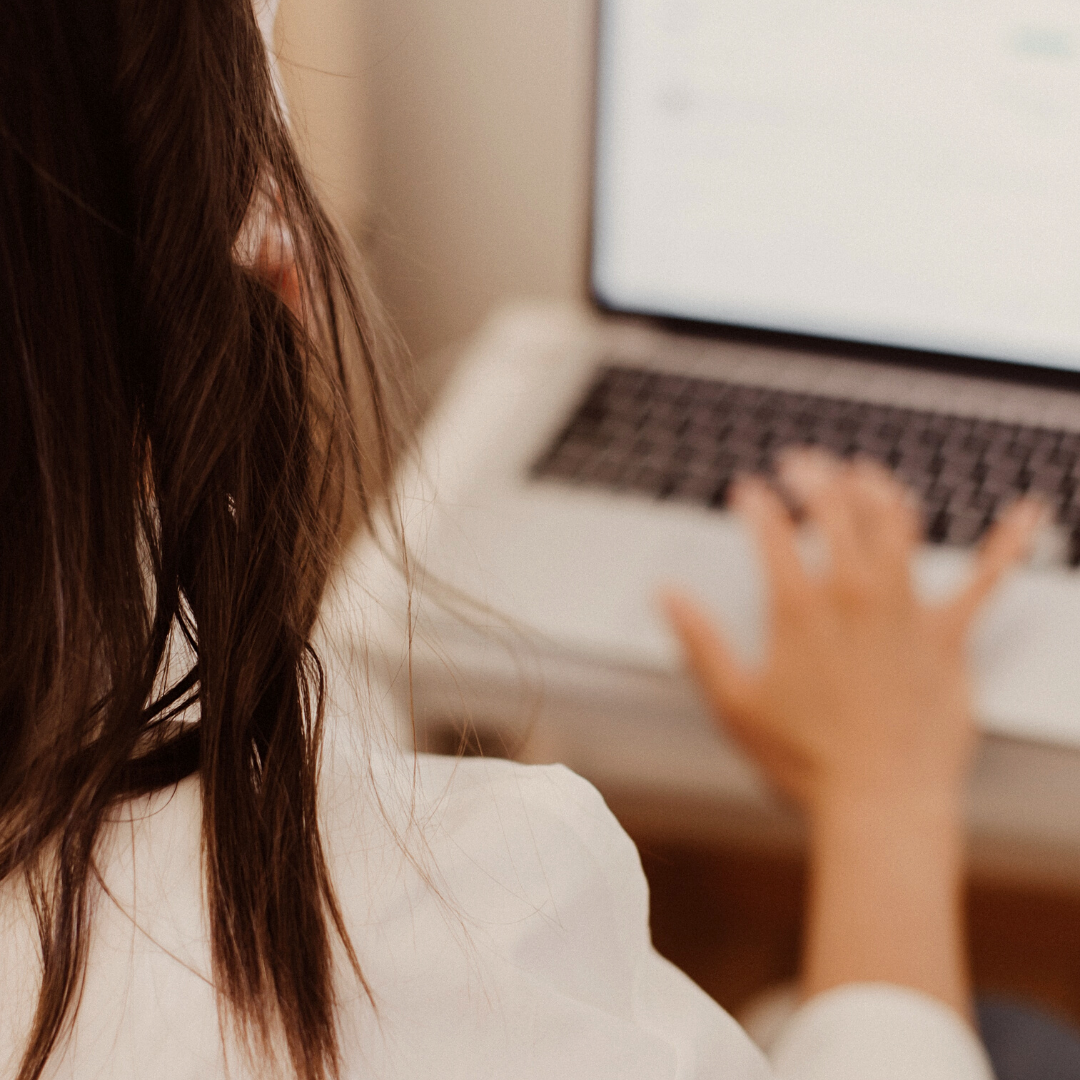
I take all of my thumbnails with my iPhone. I do have a DSLR camera which I use to record all of my YouTube videos but I just find it far more efficient taking and editing them on my phone.
The quality on my camera is still really good, much better than if I were to take a screen capture of the video.
To take my photos I use a free App called Lens Buddy.
It is a fantastic self-timer app that gives me far more control over the photo-taking process than the iPhone camera app.
You can set a timer delay as well as set it to take a certain number of photos at a set interval.
You can also choose between having your photo taken at intervals or on command, so you could clap your hands and it was count down and take a photo. Handy if you want to move around a room, or the idea of being on a timer stresses you out.
It also has a really awesome internal gallery system which I really love because it means my photos app isn’t filling up with all these random thumbnail images.
Once you’ve taken your photos, you can then scroll through and either ‘thumbs up’ or ‘thumbs down’ the images to find the best ones.
Step 3: Editing The Photo
Once I’ve decided on the photo I want to use for my YouTube Thumbnail, I’ll import it into the free Adobe Lightroom app.
From there I’ll adjust the white balance and usually apply a preset, currently, I’m using the Angela Rose Presets by Nicole Digi.
I’ll then just go through and play around with the light options and colours until I’m happy with it.
I then open it in FaceTune, to do this I select the export icon at the top right and then ‘open in..’.
There are a couple of small adjustments I make in FaceTune to help make my image pop, without actually altering my features or any of those options FaceTune has.
First I’ll use the Whitening option to whiten the whites of my eyes as well as any darker areas of the background.
I’ll then use the Detail option to bring back the details of my eyes and my eyebrows. If I’m showcasing something with a device, I’ll also bring back the details of that.
I then use the Smooth Tool to just remove some of the shiny spots on my face, usually on the tip of my nose and a bit on my forehead.
Lastly, I’ll use the defocus tool to blur the background of my image, this helps my face as well as any text or graphic I place on the image really stand out.
After that, I’ll export the photo and transfer it to my computer.
Step 4: Prepping Image In Canva
Now it’s time to jump into Canva and put the final touches on our YouTube Thumbnail.
I have a YouTube Thumbnail design that holds all my thumbnails, but if you’re starting from scratch you can search ‘YouTube Thumbnail’ from the search bar and you’ll be given a canvas option with the correct dimensions of 16:9.
Once I’m in the design editor I’ll upload my edited Thumbnail image.
Now these next few steps I focus ONLY on the background of the image, meaning I don’t care what effect these adjustments have on my face within the image.
I’ll first drag and drop my image onto the canvas so it fills the canvas.
From here I will use the ‘edit image’ function on the top left navigation to brighten the image, I’ll sometimes lower the warmth if I think it’s a little too yellow.
I’ll also blur the background even more, usually somewhere between 6-8.
Once I’m happy with how the background looks I’ll lock that image using the locking function on the top right.
This prevents anything from being dragged into the background which can be a bit of an annoying thing that happens in Canva. By locking it, nothing can affect that image at all.
Now here is the fun part, take that same image and add it to the canvas.
I then access the Background Remover tool within the ‘Edit Image’ menu. I’ll remove the background from my image, leaving only me and any props I might be using in the photo.
Once the background is removed, I adjust the image so it perfectly aligns with the background image and lock it in place.
Step 5: Adding Overlays & Text
Now that the groundwork is laid for my YouTube Thumbnail I’ll go in and add my text and any graphics I want to use.
With my text and graphics, I always ensure that they are consistent with my branding and utilise my brand colours and brand fonts etc.
Branding your YouTube Thumbnails is an important part of any YouTube strategy because it makes it easier for subscribers to spot your videos and they will grow accustomed to your brand within the platform.
If you don’t have branding for your channel, I have previously created tutorials walking you through Creating A Brand Strategy & Creating A Brand Style Guide.
To add text behind my face within the image, because we’ve now got two images, one for the background and one of me, all I need to do is create my text and then use the ‘position’ tool to move the text backward so it’s behind the image of me but in front of the background image.
Pretty magic stuff!
Step 6: Export & Review YouTube Thumbnail
Once I’m done I’ll select the grid view within Canva. As I mentioned earlier I have a running design of all my YouTube Thumbnails so turning on grid view allows me to see my new thumbnail alongside all my previous thumbnails, just as it would appear on my channel.
That way I can ensure it works well and has the same consistent look. Sometimes I’ll need to go back and adjust the images to get it just right.
Once I’ve done this and I’m happy with the image, I’ll export it as a PNG image.
Now, here is my secret weapon to check that my thumbnail is going to look good in all the places it could appear within the YouTube App.
I head to a website called Thumbs Up TV. This is just a single-page website that allows you to upload your Thumbnail and the potential title of your video to see how it will look.
As you scroll down it will show you how it could look on the home page, the sidebar, on a playlist, mobile device, TV etc. all the places!
This is a really great tool that allows you to get a good look at your thumbnail from a viewer’s perspective and check to ensure it looks good, that the text is readable, that all the relevant details are still visible on the smaller devices etc.
If all looks good, I’ll upload it to my video on YouTube.
There we go, that is how I plan, shoot, edit and create my custom YouTube Thumbnails! I hope you enjoyed this behind-the-scenes look at my thumbnail process and it has given you some insight into how you can get started with or level up your own custom thumbnails.
Disclaimer: I sometimes include affiliate links within my posts for my fave products. If you click and purchase, I may receive a small commission at no extra cost to you.


0
Comments