


I love a good mockup, whether it’s for a logo, a website, a book or in this case a PDF Freebie. A mockup gives you a glimpse of a design’s potential and how it could be used in the real world.
Creating a mockup for your free opt-in, freebie, lead magnet, whatever your preferred term is, allows readers or potential email subscribers to see a small preview of what it looks like, before they opt-in to get the download.
Previously this was something that could really only be created using software such as Adobe Photoshop, which isn’t the easiest thing to learn.
So today I’m going to show you 5 different ways you can create these mockups using my favourite design tool ever, Canva!
Some of the mockup options I’m going to show you are from both the Canva Free Version as well as the Paid Subscription. If you haven’t jumped on the Canva train yet, I highly recommend checking it out.
I upgraded to the paid version a year or so ago & honestly, it’s the best value for money. I use it every day in my business.
Prepare The Images For Your Mockup
The first thing we need to do is add the freebie pages we want to use in our mockup to Canva as an image.
To do this you want to open your freebie design file, if you need help creating your opt-in freebie you should check out this tutorial on How To Create An Opt-In Freebie In Canva. This walks you through customising a template as well as making your Freebie interactive with fillable work areas.
If you’ve created your freebie design in a different software or program you can still follow the steps below. You may just need to look for the export function instead of download.
To download our freebie design as an image, click the share button on the top right to open the share pop-up menu. Then towards the bottom click download.
Here you’ll want to choose either the file type ‘JPEG’ or ‘PNG’. Choosing JPEG will keep your file size smaller and easier to manage.
So this is really down to personal preference and dependent on the size in which you plan to display your mockup.
The majority of my mockups are on my website or Pinterest Graphics so I opt for a JPEG file normally.
Next under ‘Select Pages’ choose only the pages that you want to include within your mockup. A standard mockup usually includes 3-4 pages.
Now just hit ‘Download’.
Once your pages have been downloaded, locate the files within your computer and upload them to your Canva account.
You can do this by either dragging and dropping them into Canva from within the design editor and they’ll be added under the ‘Upload’ Tab on the left.
Or you can navigate to the ‘Upload’ Tab on the left and select ‘Upload Media’ then select the images you want to upload.
Option 1: Add Mockup To Image
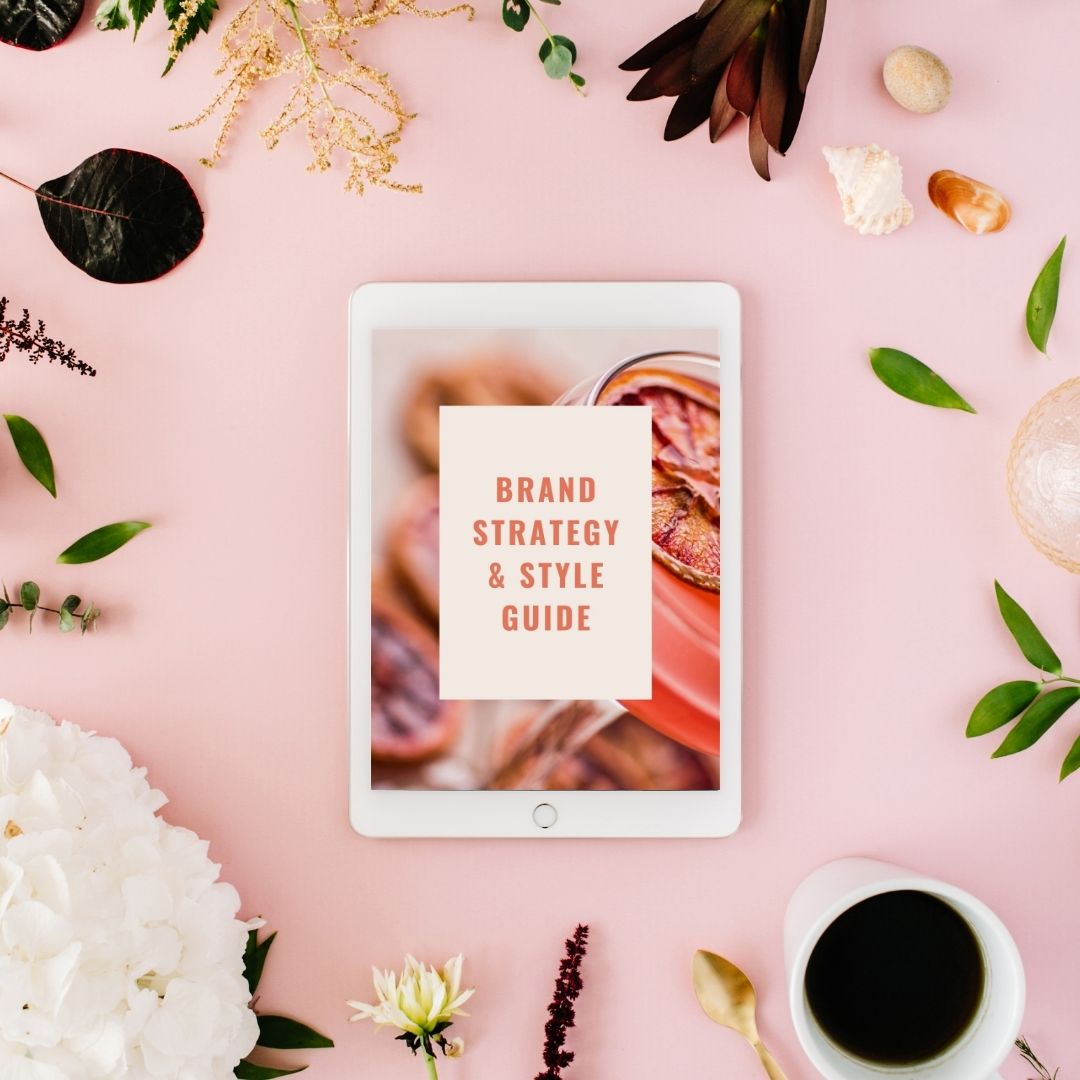
The first and probably simplest way you can create a mockup is by overlaying it on an image. This works great for things such as social media posts or ads.
You can either source your own mockup images from free or paid stock photo websites.
However, Canva has its own vast photo library with both free and paid images that you can use.
To find relevant photos, select the Photos Tab on the left side navigation.
If you can’t see the Photos Tab on your left-hand navigation, scroll down on your navigation until you see 3 small dots and ‘More’. Click on this and you should see the Photos tab appear.
Once you’ve clicked on it, it should now remain available in the left-hand navigation.
Now once you are in the Photos Tab, simply search ‘mockup’ under Photos.
If you are using the free version of Canva and only want to see the photos that are free to use, you can adjust the filters using the filter menu on the right side of the search bar.
Once you’ve chosen your image, click and drag it onto your blank canvas. You’ll notice that as you are doing this the image will snap and fill the canvas.
To adjust the image placement, double-click on the image to move it around within the grid.
Now that you are happy with your image and its placement you want to lock it in place. To do this ensure the image is selected and in the top right corner click the lock icon.
This is handy for overlaying images because it stops the new image from snapping into the current image grid.
Now locate your mockup image within your Uploads, and click it once to add it to the canvas.
Then all you need to do is adjust the size and rotation to fit within the mockup area.
A small edit I like to do when using this style of mockup is to decrease the transparency to 95%. This just helps blend the two images together.
Option 2: Add Image To A Frame
Our next option is to add your mockup image within a Frame. This is a great option to really have your freebie be the star of the show whilst showcasing it in a way that makes sense.
To access the Frames within Canva, select the Elements Tab in the left-hand navigation. Scroll down until you see the Frames section and select ‘See All’.
Select the frame you want to use, ensuring that it’s relevant to the freebie you are offering and click it to add it to the canvas.
Adjust your frame to the right size and angle that you are after.
Then all you need to do is drag your freebie image over the frame and it will snap into place.
You can then use the double-click method to adjust the placement of the image within your frame if needed.
Paid Option: Download with a transparent background
If you are using the Paid Version or are currently within the 30-day free trial of Canva, you’ll have the option to download your mockup with a transparent background.
This is the best option when it comes to mockups as it gives you so much versatility as to where it can be placed or used.
To do this, just click the share button on the top right, then click download from the pop-up menu.
Here you’ll select the file type ‘PNG’. Then select the option that says Transparent Background.
Now just hit ‘Download’.
Free Option: Match Background Colour
If you are using the Free Version of Canva you won’t have access to the transparent background feature outside of the free trial as this is a premium feature.
The best way around this though is to change the canvas background to match the background colour where it’s going to be placed.
For example, if I was placing the mockup on my blog which has a light Seashell background colour, then I would use that same background colour on my mockup canvas that way it still gives the impression of a transparent background.
Option 3: Create Mockup Using Smart Mockups
One of Canva’s newest add-on features is Smart Mockups. Which does all the hard work for you in terms of creating mockups.
To access this feature, place your mockup image on your canvas and while it’s selected in the top editing panel select ‘Edit Image’.
Scroll down until you see the Smartmockups sections and select ‘See All’. You can then browse the mockup options available.
Once you’ve found a mockup that works for your freebie, just click on it and it will be applied to your image.
Once it’s applied, if it’s not sitting quite how you’d like, you can make adjustments to the placement by clicking the setting option that would have appeared over the smart mockup you selected.
This will allow you to adjust the horizontal placement, vertical placement as well as the overall size.
Once you’re happy, press ‘Apply’. Your new mockup is now created and you can resize and move this around the canvas however you’d like.

Option 4: Create A Drop Shadow On Image
One of the most commonly used mockup designs is a drop shadow, this gives the impression of the freebie pages actually overlapping, adding dimension and allowing it to stand out from the web page.
Previously this was only achievable within a program such as Adobe Photoshop or Illustrator, but not anymore!
Canva has added this as a feature within its design editor, meaning you are only a few clicks away from an awesome drop shadow mockup.
Like with the smart mockups, add your desired image to the canvas, then with the image still selected go to ‘Edit Image’ and scroll until you see the Shadows section, click ‘See All’.
Select Drop from the Shadow Options and it will automatically be applied to your image.
Just like with the Smartmockups, you can then access the settings from the Drop Shadow option to adjust the shadow to your liking.
I usually adjust mine as follows: Offset – 1, Angle – 0, Transparency – 30, Blur – 8
Once you are happy, select ‘Apply’ and you now have a drop shadow on your image.
Repeat this with the other pages of your mockup and position them to your liking.
A quick note, you want to make sure that your image is completely within the canvas so that none of the drop shadow is cut off. Sometimes this isn’t obvious until it’s downloaded.

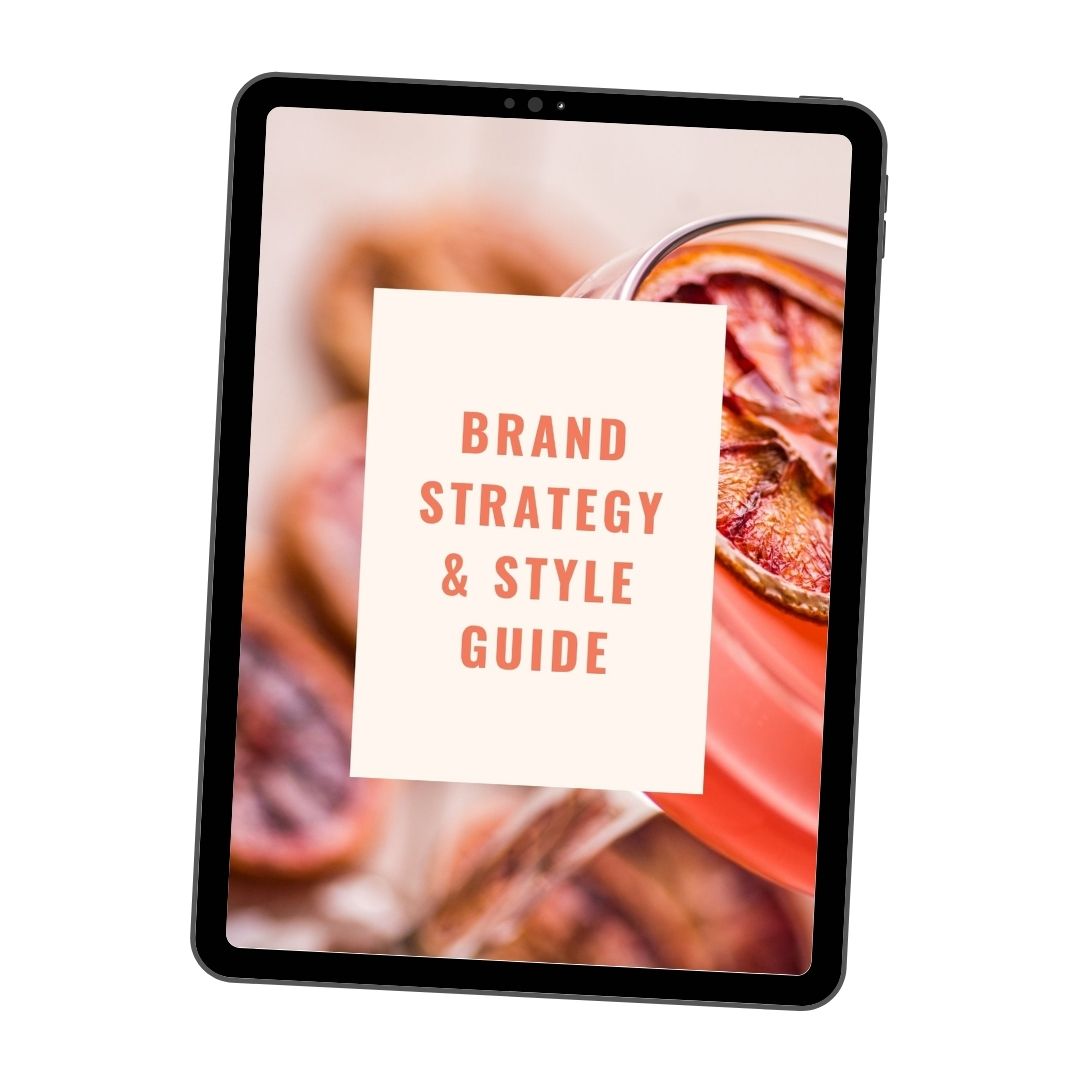
Option 5: Create Drop Shadow On Mockup iPad
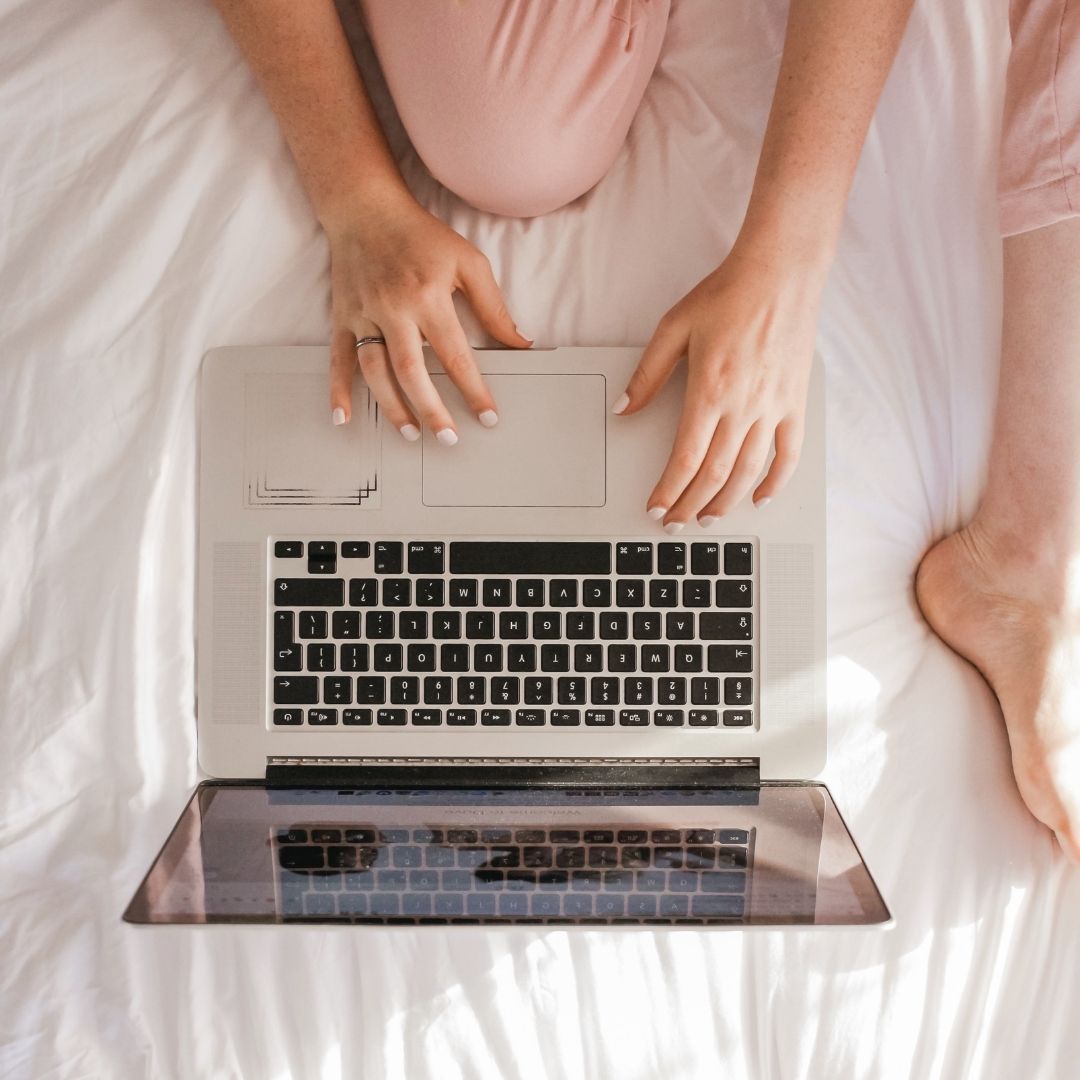
Some mockups make more sense to be placed within an electronic device such as a laptop or iPad because that is primarily where it’ll be viewed and used.
So if you want to add your mockup image within an iPad or other device but also keep the drop shadow, we can absolutely do that.
First, find a transparent device photo you want to use by searching within the Photos Tab.
To make this easier, within the filter options there is an option to include ‘Cut-outs Only’. This means that it will only show you images with a transparent background.
You want to make sure that the screen on the device is transparent. Once you’ve chosen your device image, add it to your canvas.
Then follow the same steps as the previous option to add a Drop Shadow to your device.
Once you’ve applied your Drop Shadow to your device, place the mockup image onto the canvas. Adjust the size and rotation so it lines up with the device space.
Then with your image selected, in the top right editing panel select ‘Position’ and select ‘Backwards’. This will place the mockup image behind the device and give it a more realistic look.
You can then download your device mockup with the drop shadow.

And there you have it, 5 different ways that you can create mockups for your opt-in freebie in Canva. No fancy software or programs required. I hope you found this tutorial helpful and it puts you one step closer to kick-starting your email list.
Disclaimer: I sometimes include affiliate links within my posts for my fave products. If you click and purchase, I may receive a small commission at no extra cost to you.


Hi Teri,
I’m really inspired by your YouTube channel and your blog. You are beautiful, smart, and authentic. You’re the only woman from the South Pacific I’ve seen creating such high-quality videos that I truly enjoy learning from.
All the best,
Michelle (New Zealand)